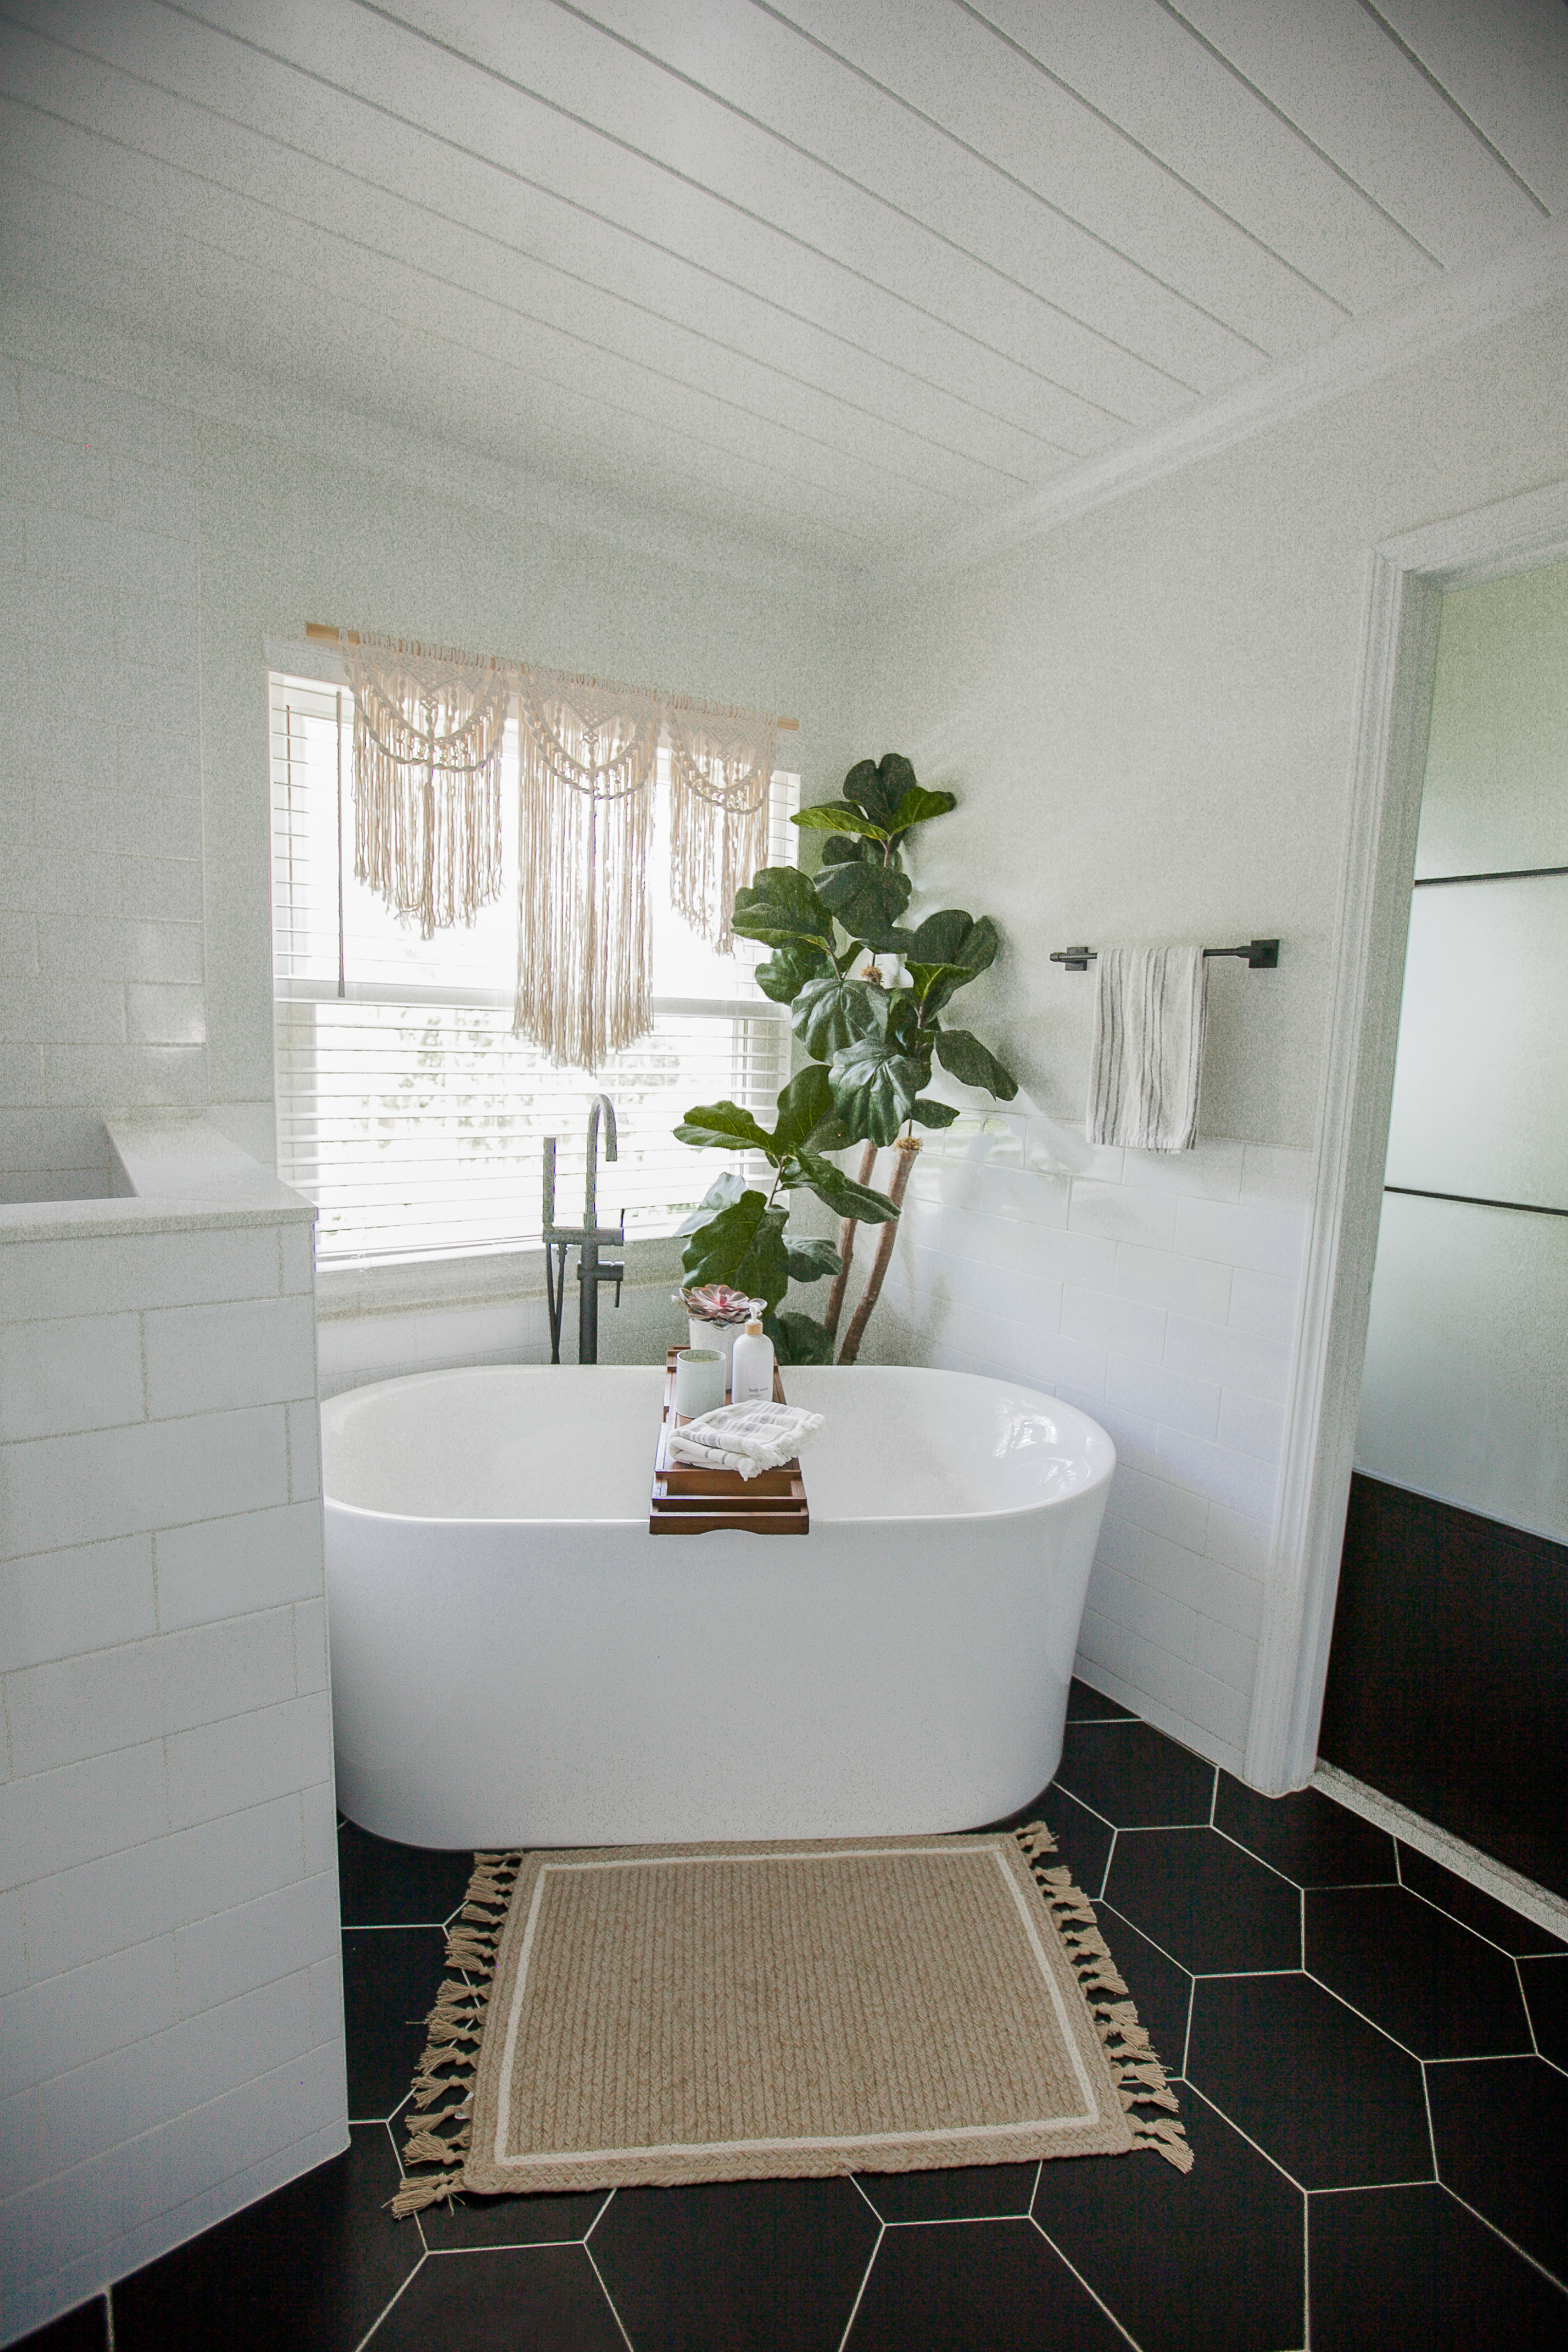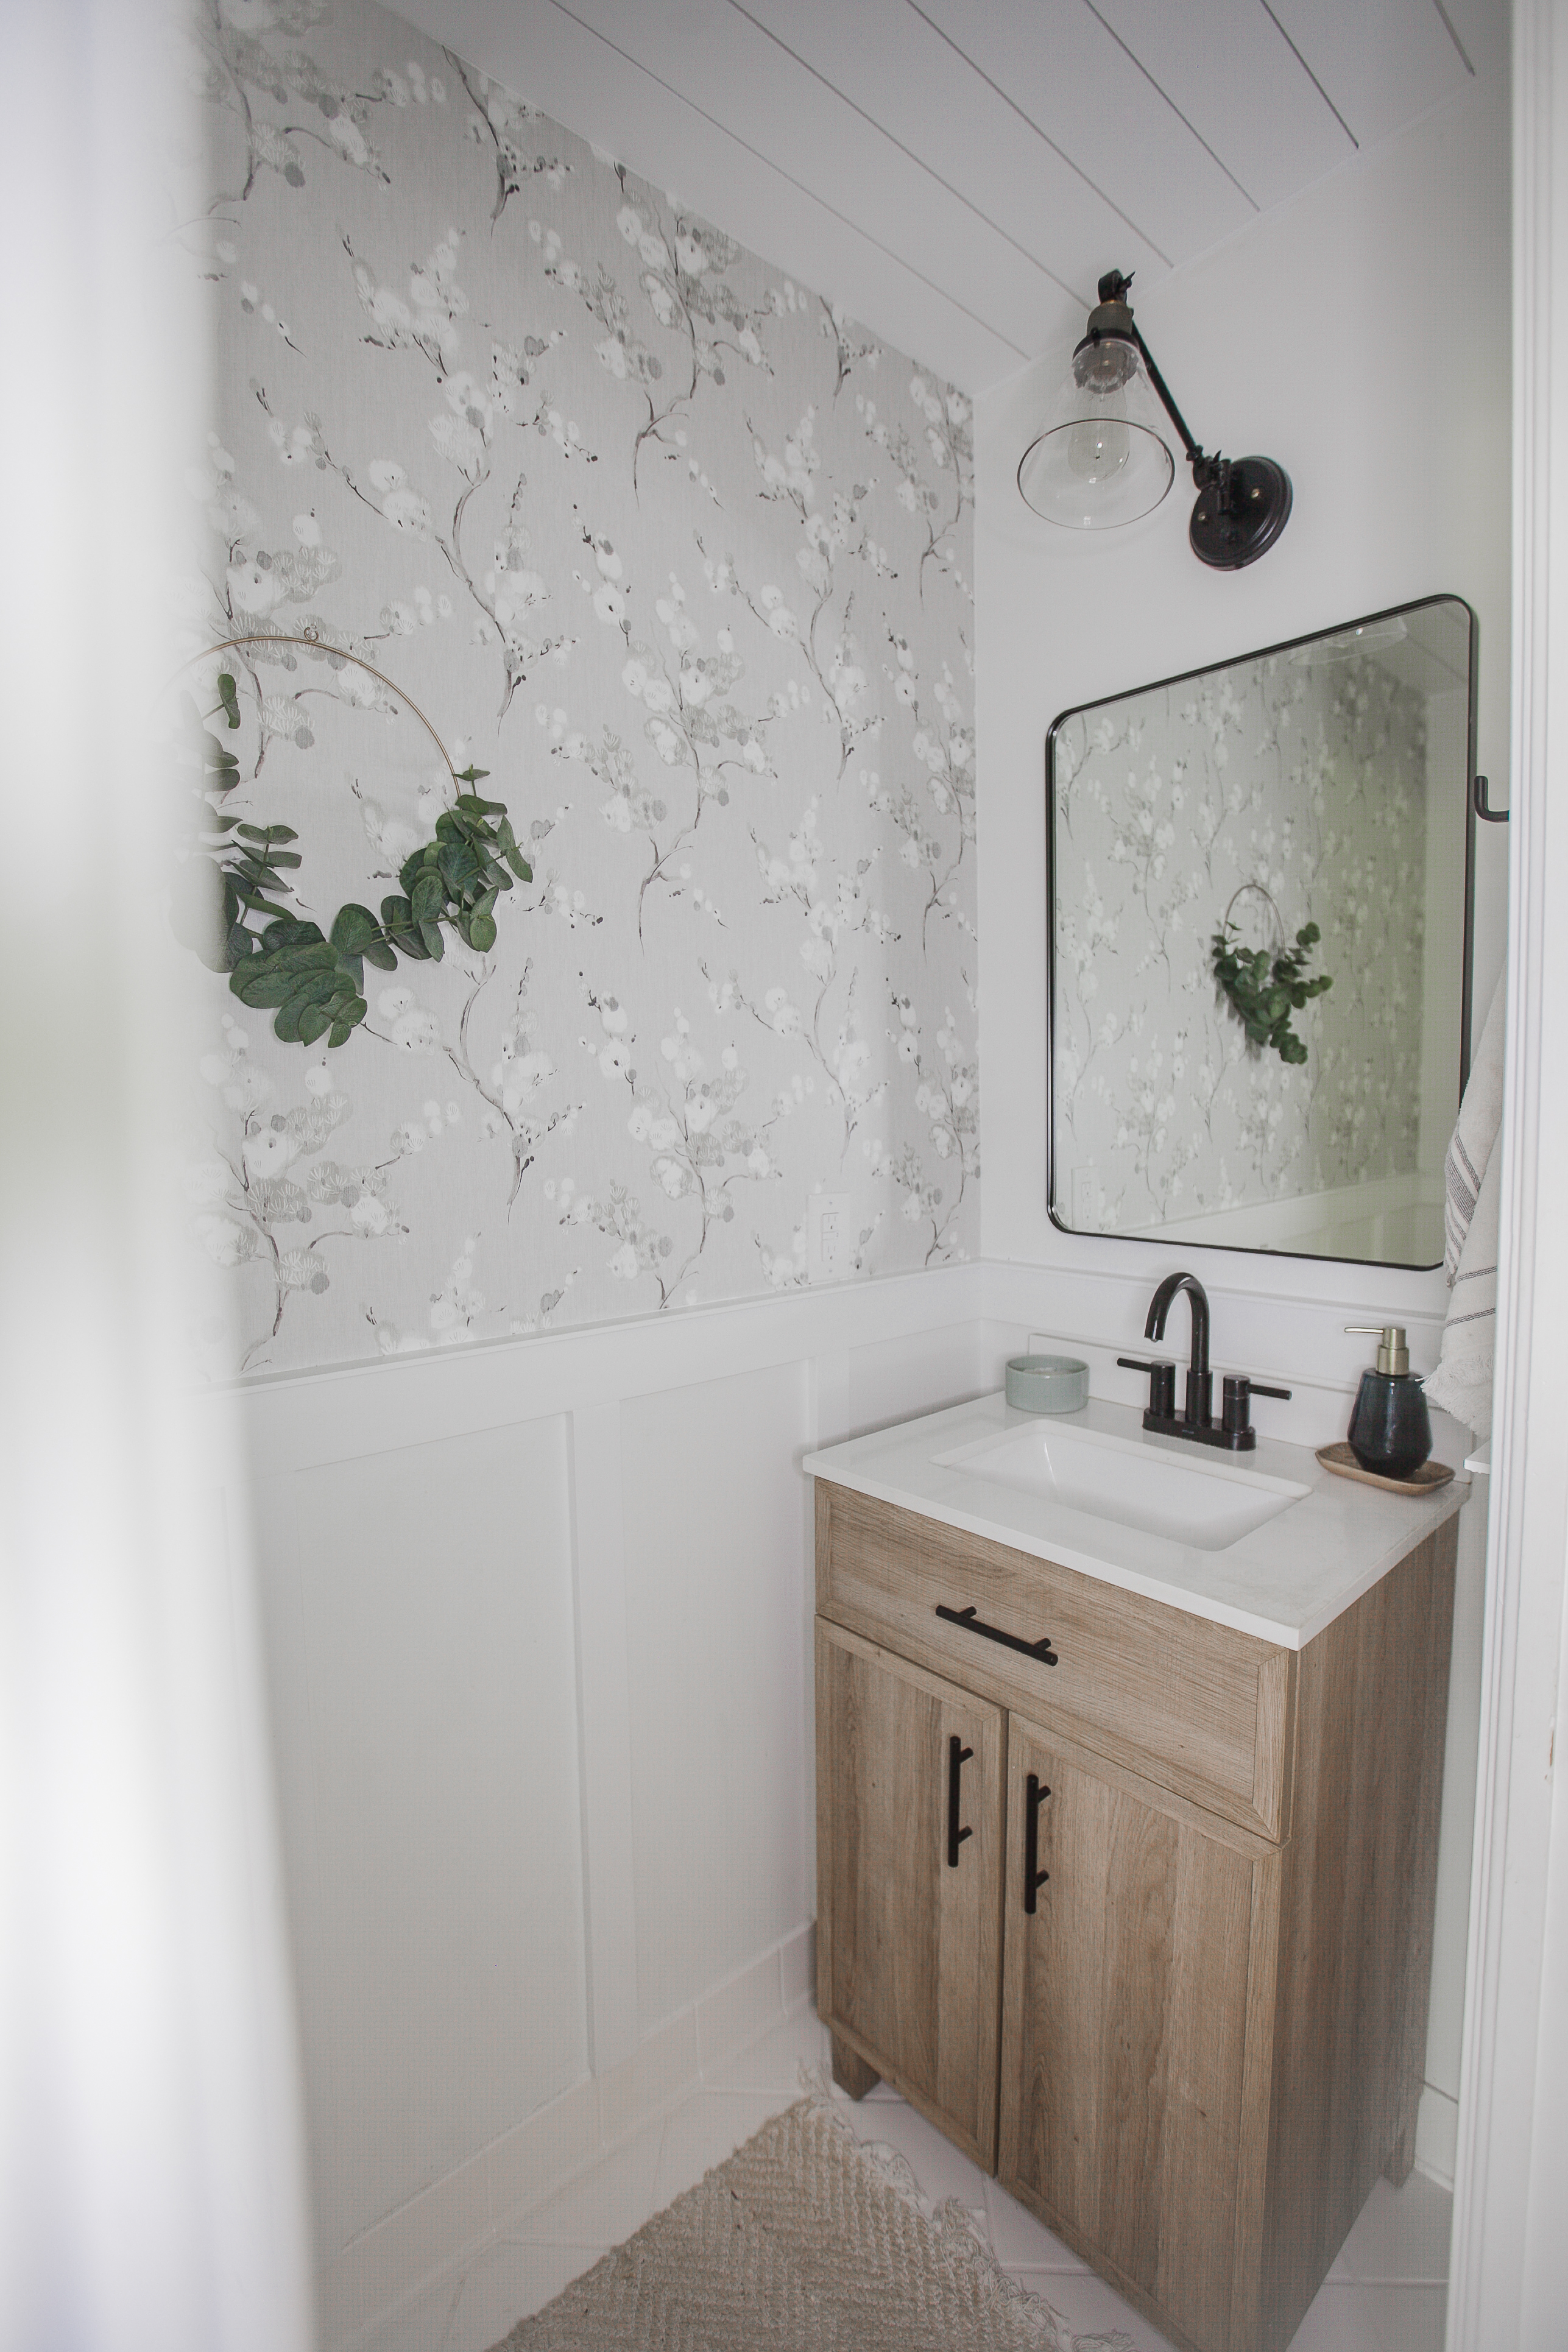

When we first moved into this 1992 home, the first thing I noted was the outdated popcorn ceiling. We wanted to have it removed, but because we were in a rush to move in, we didn’t have the time or the budget to remove it then. And once you are settled in, popcorn ceilings can be a huge mess to tackle. My next best option? Cover it up in shiplap! Room by room, we’ve been tackling it as our budget opens up to buy wood, and I love how fresh and clean it looks.
Shiplap is a popular design element that can add charm, texture, and a modern farmhouse look to any room. While many people associate shiplap with walls, it’s also a fantastic option for ceilings, creating a rustic yet polished finish. Installing shiplap on your ceiling may seem like a daunting task, but with the right tools and a step-by-step approach, it’s a DIY project that can elevate your space. Also, we read on the internet that it’s not a good idea to put shiplap over popcorn ceilings, but we’ve had no issues with it, and below I explain what worked well to keep ours in place!
We first tried to outsource this project because it felt so intimidating, but through the help of a friend’s wisdom and our perseverance to learn, we figured it out as we went with each new room. This is definitely a 2-person job, and requires precision, but if my husband and I can handle it, you can to!
In this tutorial, I’ll guide you through the entire process of how you also can install shiplap on your own ceilings.
Tools and Materials You’ll Need:
• Shiplap boards (wood or MDF tongue-and-groove), I prefer pre-primed ones I found at Lowes, for less painting upside down of the finished product. Also, in bathroom spaces that are not well ventilated, you might want to consider using PVC like we did in our master bathroom to prevent molding from the steam)
• Measuring tape
• Stud finder
• Level
• Chalk line
• Saw (miter saw or circular saw)
• Nail gun and 1.5-2” nails
• Construction adhesive (optional but helpful reinforcement, especially when tackling gravity on ceilings or putting shiplap over popcorn ceilings)
• Caulk and caulking gun
• Wood filler
• Sandpaper or electric sander
• Paint or stain
• Ladder or scaffolding
Step 1: Measure and Plan Your Layout
The first step in any DIY project is planning. Start by measuring the dimensions of your ceiling. This will determine how much shiplap you need to purchase. Always buy a little extra to account for mistakes or wood imperfections.
Decide on the orientation of your boards—whether you want them to run parallel or perpendicular to the longest wall. Perpendicular installation can make the room appear larger, while parallel boards give a more traditional look. Be sure to also plan for lighting fixtures, vents, or other ceiling elements that may need to be worked around.
Step 2: Locate the Ceiling Joists
Using a stud finder, locate the ceiling joists, which will provide the structural support for nailing your shiplap boards. Mark the location of each joist with a pencil or chalk line to guide your installation. This ensures the boards are securely attached to the ceiling and won’t sag over time.
Step 3: Cut the Shiplap Boards
Once your joists are marked and your layout is planned, start cutting your shiplap boards to fit the ceiling. Use a miter saw or circular saw to cut the boards to the correct length. Measure twice, cut once to avoid waste. If you want a staggered look, cut boards at different lengths to avoid aligning all joints.
Step 4: Install the First Board
Start your installation in one corner of the room. Using a nail gun, attach the first shiplap board to the ceiling, ensuring it’s perfectly straight with the help of a level. Place nails through the tongue (if your shiplap has a tongue-and-groove design) into the ceiling joists, angling the nail gun slightly to hide the nails.
If your ceiling isn’t perfectly level, you can adjust the first row slightly to hide imperfections. Use a chalk line as a guide to ensure the boards stay straight throughout the installation.
Step 5: Continue Installing the Shiplap
Once the first board is in place, continue installing the remaining boards. If using tongue-and-groove shiplap, slide the groove of the next board into the tongue of the previous board for a seamless look. Secure each board with nails through the tongue and along the board’s top edge.
For added security, apply construction adhesive to the back of each board before nailing it into place. This step is optional but recommended if your ceiling joists are spaced far apart or if you want extra stability.
Step 6: Cut Around Fixtures
As you work across the ceiling, you’ll likely need to cut around light fixtures, vents, or other obstacles. Measure carefully and use a jigsaw or hole saw to cut out sections of the shiplap boards to fit around these elements. Take your time during this step to ensure a clean, professional finish.
Step 7: Fill Gaps and Nail Holes
Once all the shiplap boards are installed, you may notice small gaps, nail holes, or seams between the boards, especially near the edges. Use wood filler to fill any visible nail holes or gaps between the boards. After the filler dries, sand it smooth to prepare for painting or staining.
If the gaps between the boards and the wall are too large, use caulk to create a seamless transition. Caulking will also give the ceiling a polished, finished look.
Step 8: Paint or Stain the Shiplap
Now that the shiplap is installed and smoothed, it’s time to paint or stain it to achieve your desired look. For a classic farmhouse aesthetic, white paint is a popular choice, but you can also stain the wood for a more natural, rustic feel. Be sure to prime the wood first if you’re painting (if you didn’t buy pre-primed shiplap), and use a high-quality paint or stain to protect the wood and ensure long-lasting results.
Apply your paint or stain evenly with a brush or roller, making sure to cover all edges and seams. Depending on the wood, you may need to apply more than one coat for a smooth, finished look.
Step 9: Install Trim (Optional)
To complete the look, consider adding crown molding or trim around the edges of the ceiling where the shiplap meets the walls. This will hide any uneven gaps and give the installation a professional, finished appearance. Measure, cut, and nail the trim into place using your nail gun. If you don’t install trim, complete the look by caulking around the edges where the end of the wood meets the walls.
Step 10: Enjoy Your New Ceiling!
Once the paint or stain has dried, step back and admire your work! Shiplap adds a beautiful texture to any ceiling and can transform the entire feel of a room. Whether you chose a rustic, modern, or traditional look, your new shiplap ceiling will be a stunning focal point.
Final Tips:
• Take your time: Precision is key when installing shiplap, especially on a ceiling. Rushing can lead to crooked boards or uneven spacing.
• Work with a partner: Ceiling installations are much easier with an extra pair of hands, especially when nailing boards into place.
• Use scaffolding: For high ceilings, consider renting scaffolding to make the installation process safer and more manageable.
By following these steps, you can achieve a beautiful shiplap ceiling that adds character and value to your home. Whether you’re a seasoned DIYer or a beginner, this project is one that will leave a lasting impact on your space!

Leave a Reply